Metal Spindles and Brackets into Balustrade Installation Guide
In this Pear Stairs guide, we explain how to fit our metal brackets and spindles into both a rake and landing balustrade.
Things You Will Need:
Metal Spindles:
| Camlad | Pembroke | Montgomery |
| Snowdon | Brecon | Mellington |
| Cambrian |
Extras:
Step 1: Calculate the angle of both the BASERAIL and HANDRAIL (RAKE ONLY - FOR LANDING BALUSTRADES GO TO STEP 2)
Measure the angle of BOTH the BASERAIL TO POST and HANDRAIL TO POST on the rake.
Please Note: Due to the design of these brackets, it is likely these angles will be different and if not measured individually and accounted for in your calculations, spindles will not be vertically aligned.
Step 2: Calculate the number of Spindles required
Measure the following:
- Length of Balustrade (Inside Post to Inside Post)
Calculate your Number of Spindles:
Length of Balustrade (Inside Post to Inside Post) / Desired Spindle Spacing = Number of Spindles
Please Note: Regulations stipulate that a 100mm sphere should not be able to pass through any openings between spindles or any other gaps in the handrail. Please account for these building regulations when calculating the number of spindles required for your rake and landing.
Step 3: Calculate the spacing for your spindles
Measure the following:
- Spindle Width
Calculate your Total Width of Spindles:
Number of Spindles X Spindle Width = Total Width of Spindles
Calculate your Remaining Length of Balustrade:
Length of Balustrade (Inside Post to Inside Post) - Total Width of Spindles = Remaining Length of Balustrade
Calculate your Bracket Spacings:
Remaining Length of Balustrade / (Number of Spindles + 1) = Bracket Spacings
Step 4: Mark bracket positioning on BOTH the BASERAIL and HANDRAIL
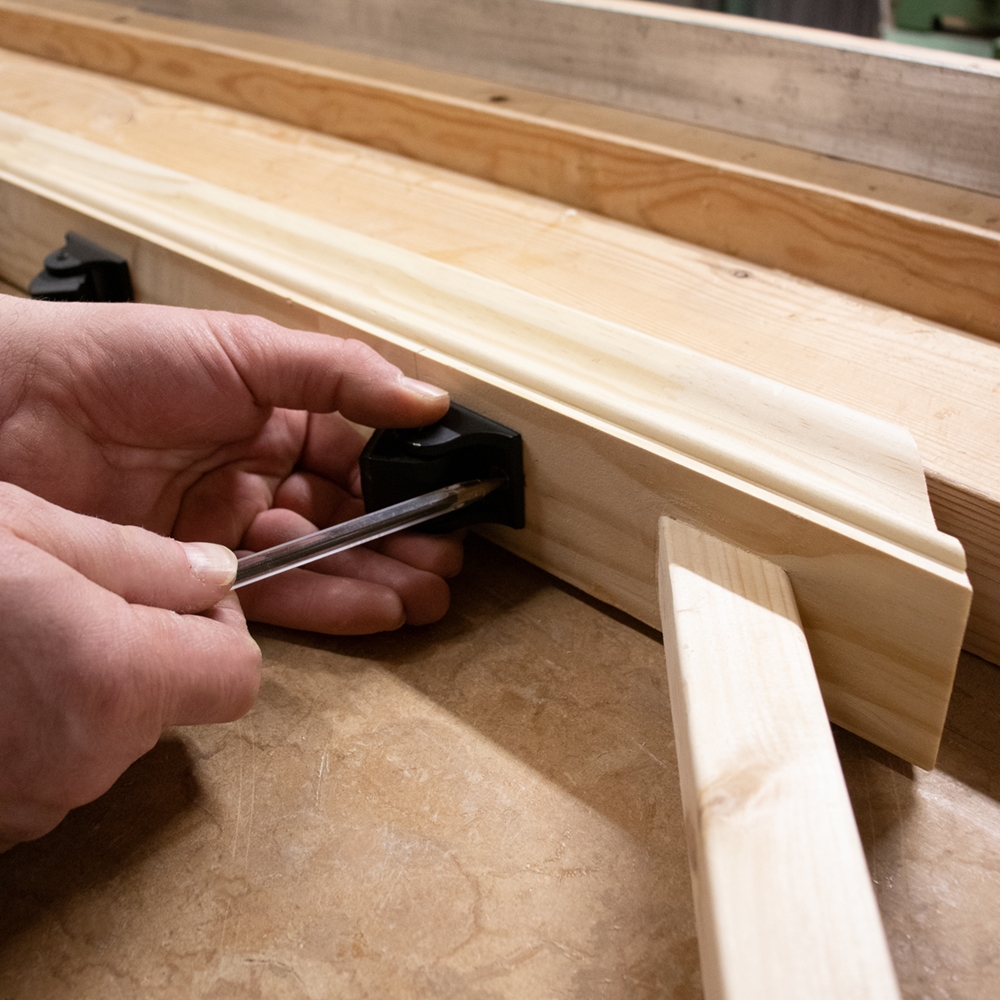
Mark the positioning for each of the brackets on BOTH the BASERAIL and HANDRAIL.

Step 5: Drill Pilot Holes for Brackets
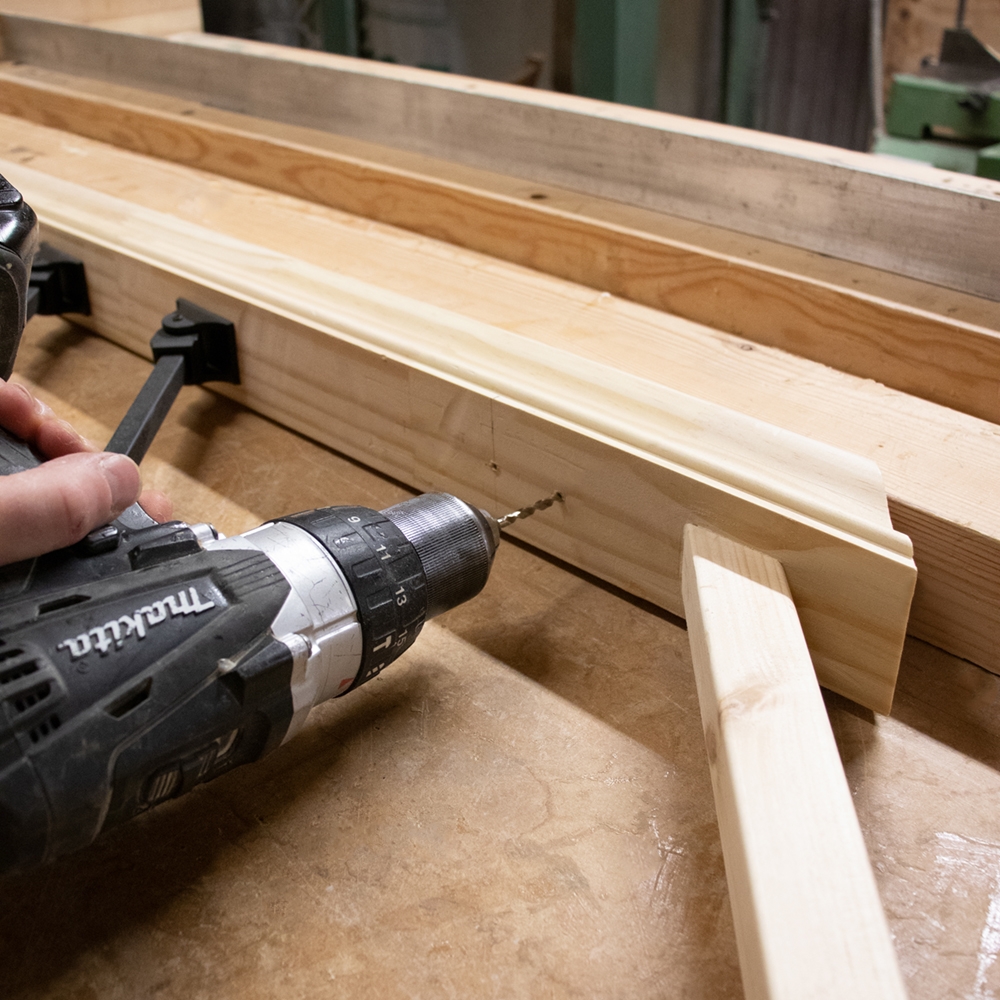
Using a pilot drill bit, drill pilot holes for your brackets on BOTH the UNDERSIDE OF YOUR HANDRAIL and the TOPSIDE OF YOUR BASERAIL.

Step 6: Fit ONE of the brackets onto either the baserail OR handrail
Using a long drill bit, fully install ONE of the brackets onto the baserail OR the handrail.
We advise that you select the bracket more difficult to install first as this will make installing the second bracket easier later on in the process. Also, it is important to note that you can switch which bracket you install first from spindle to spindle, as long as only one bracket is installed at this point.
Please Note: DO NOT INSTALL BOTH brackets at this point as one will need to be removed in order to fit the spindles once they are cut to size. Any damage caused to the balustrade in the process of installing or removing brackets is your responsibility and not that of Pear Stairs.
Step 7: Measure the distance from Bracket to Bracket
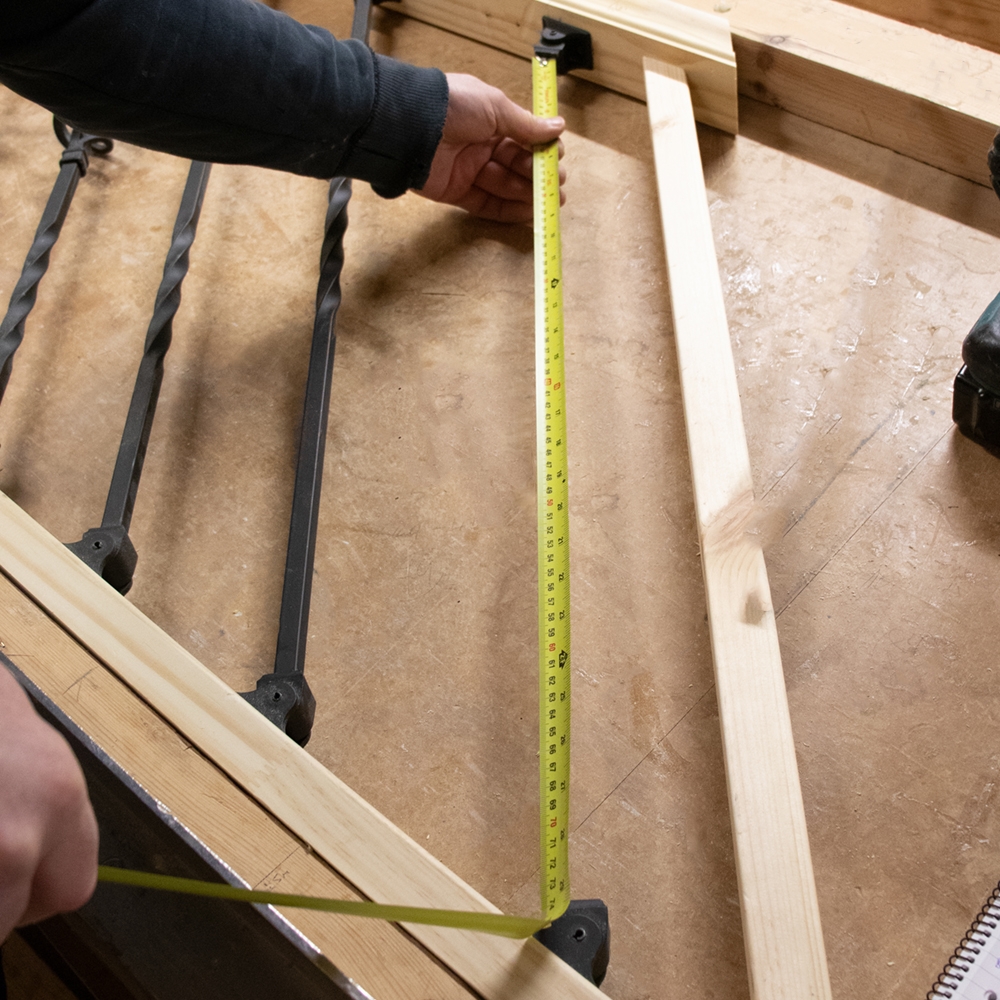
With one bracket installed and the other either in a pilot hole or held in position, measure the distance between each bracket.
This distance will be the Bracket to Bracket Distance.
Please Note: Due to the change in angles between the baserail and handrail, we advise that each spindle length should be calculated individually with the Bracket to Bracket distance measured for each specific spindle.

Step 8: Calculate the required Spindle Length
Using the equation below, individually calculate the Total Spindle Length for each spindle.
Bracket to Bracket Distance + 24mm* (Bracket Depth) = Total Spindle Length
*For reference, each bracket has a standard depth of 12mm, with each spindle inserted into two brackets, a total of 24mm Bracket Depth needs to be accounted for. Please confirm the Bracket Depth by measuring your brackets yourself before cutting the spindles.
Step 9: Cut Spindles to Length
Using the Total Spindle Length figure calculated in the previous step, cut your metal spindle to the required length.
Again, it is important to note that each Total Spindle Length should be calculated individually and cut accordingly. If cutting spindles that include a pattern or design, try to ensure that the pattern or design is kept central.
Step 10: Slot the Spindle into Place
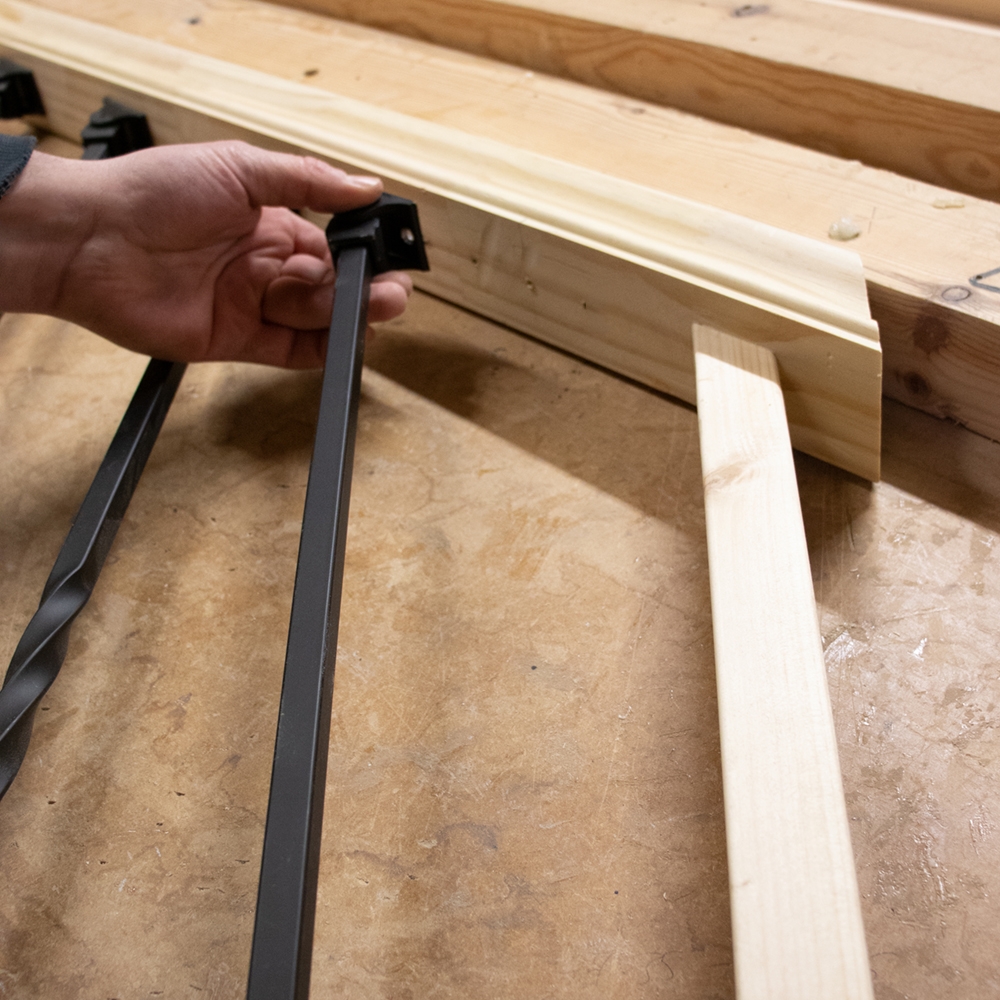
Slot the metal spindle into the one fully installed bracket on your balustrade.
Step 11: Fully Install the Spindle and Bracket
Securely slot the uninstalled bracket onto the opposite end of the spindle. Next, return the bracket to the pilot holes created previously. Again using the long drill bit and screws provided, fully install the second bracket.

Step 12: Repeat Steps 5 to 10 for each individual spindle
Using the calculations and markings completed in steps 3 and 4, repeat steps 5 to 10 to individually measure, cut and fit the remaining brackets and spindles along the balustrade.


