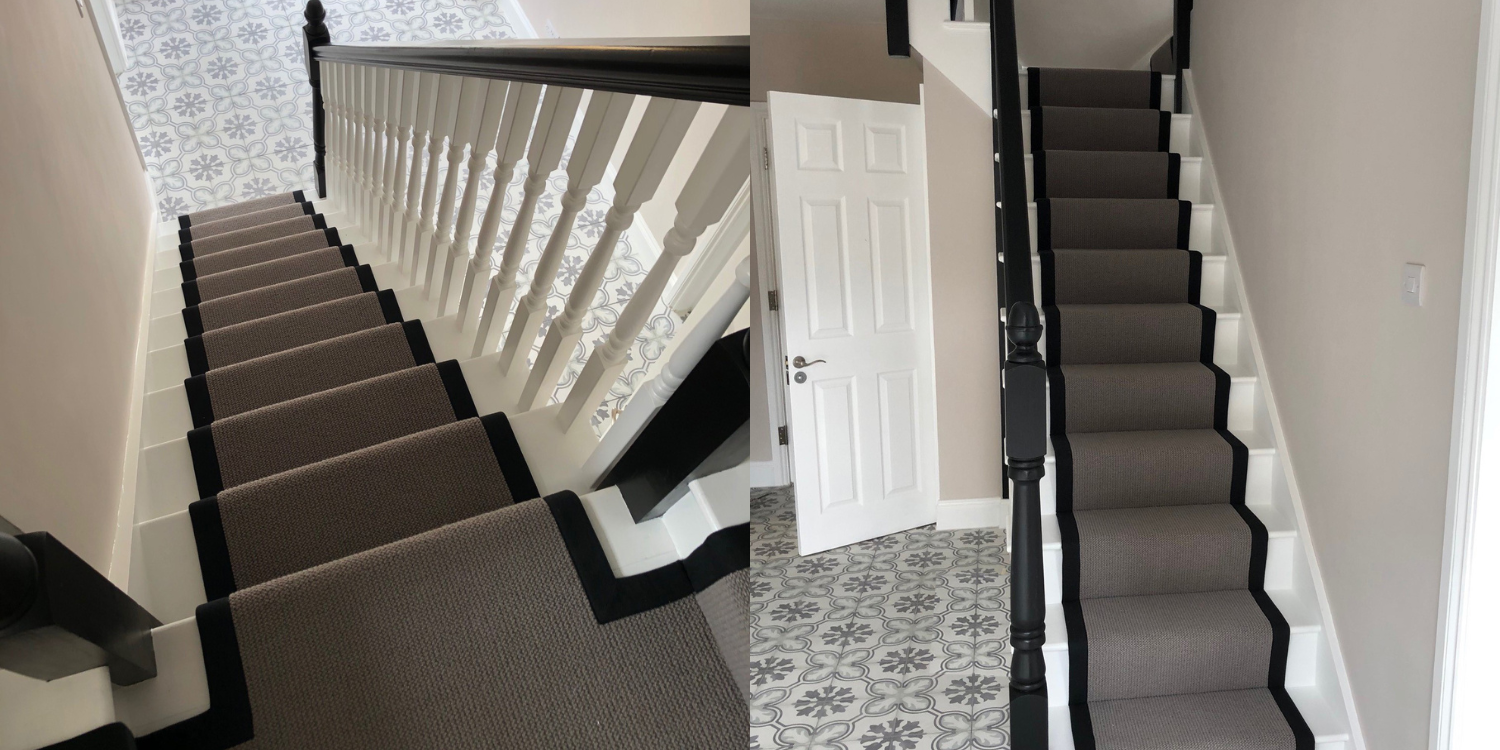
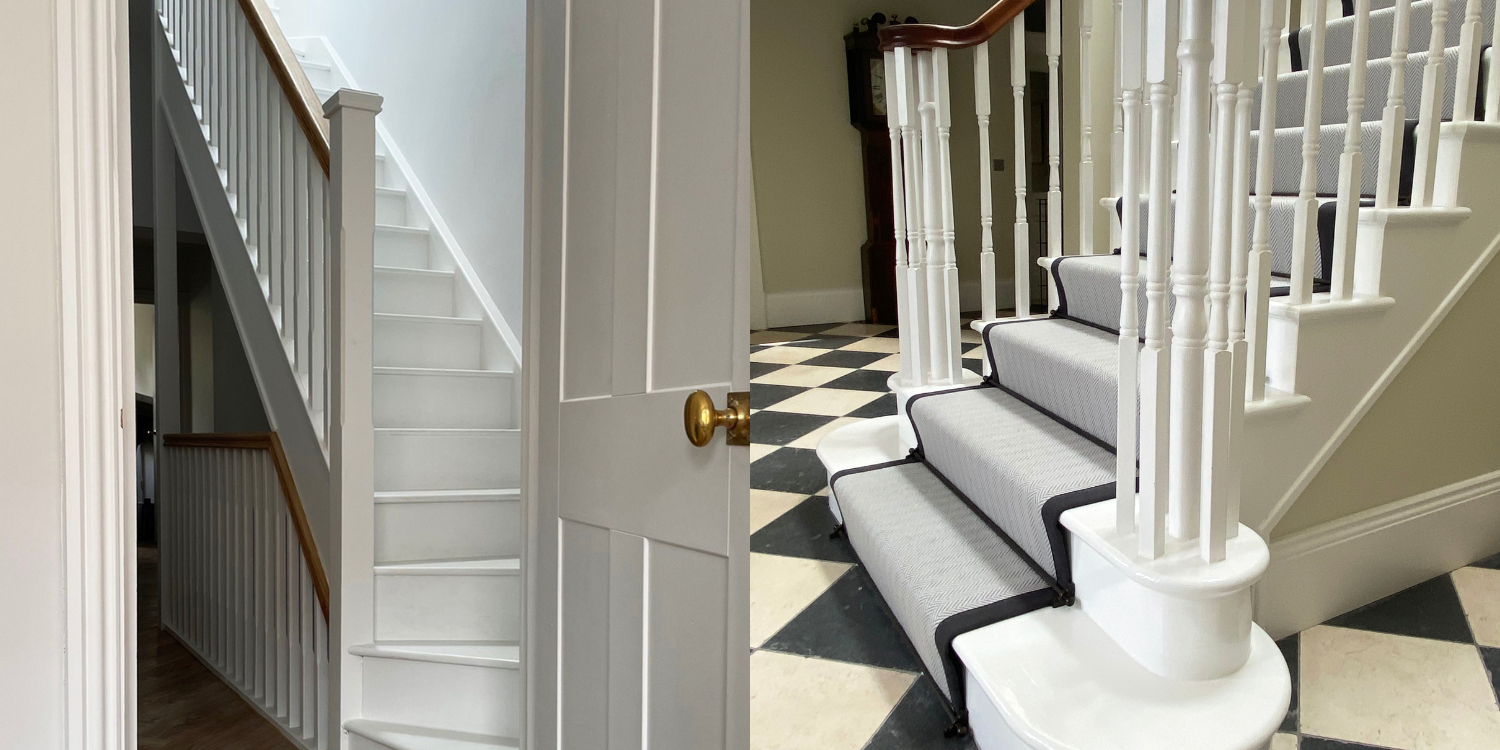
If your staircase is looking a little worse for wear, there are many ways you can bring it back to life without having to spend a fortune.
Take a fresh coat of paint for example.
It’s a cost-effective and relatively quick DIY job, and a fabulous way to show your stairs a little bit of TLC.
In this post, the staircase design specialists here at Pear Stairs take you through how to paint your staircase to achieve the best, most hard-wearing results.
What you'll need
You’ll need to collect these things before you get to work:
• Cleaning solution and a cloth
• Sander and a dust mask (optional)
• Paint scraper
• Wood filler
• Masking tape
• Paintbrush/roller and a paint tray
Step one: prepare your steps
Preparation is key if you want to achieve the best finish, and you should ensure your surfaces are in good nick before you make a start.
Begin with removing any old carpet (if you have it) and repairing any loose or broken parts, smoothing over uneven surfaces with your sander and filling any dents with your wood filler.
Once you’ve done this, sweep up the mess and wipe the stairs down with your cleaning solution and a clean cloth to remove any remaining dirt or debris.
Step two: choose an appropriate paint
When choosing a paint for your staircase, you want to make sure you get one that’ll last through all the wear and tear from people traipsing up and down.
Of course, you can use any wood paint for your stairs if you wish, but those designed for floors are best as they’re designed to be much more durable.
Floor paints are also less slippery, so are probably best used on your treads anyway, at least from a safety standpoint.
If you’ve got your heart set on using a wood paint, a satin finish might be more forgiving, but we’d stick to using it on your handrail and spindles for example, rather than the treads themselves to avoid any nasty slips and trips.
Step three: start painting
Once you’ve prepped your steps and chosen which paint you want to use, it’s time to get painting!
Start as early as possible once everyone has left for work and school for the day and try to factor in drying time.
It will be a few hours (at least) until the paint is touch-dry, and even longer before you can walk on it.
This might sound obvious but start from the top and work your way down, especially when painting your treads so that you’re not stuck upstairs until it dries – unless, of course, you’re working your way up from a basement.
If you’re painting your risers a different colour to create a striking contrast, you’ll want to use masking tape to avoid the two colours combining.
Using a paint roller on your treads will achieve the smoothest finish and you should choose an appropriate paintbrush for all other parts you’ll be painting.
Step four: remove any tape and clean up
If you’ve used any masking tape, make sure to take this off once your paint is fully dry.
After you’ve done this, give your stairs a final once-over with the broom or hoover, and stand back to admire your handiwork!
Ready to refresh your staircase?
Painting your staircase is definitely one of the best ways to achieve a brand-new look if you’re on a budget.
For more tips and tricks or expert design advice, be sure to get in touch with us here at Pear Stairs.
To speak to us directly, call 01938 553 311 or send us a message via email to webenquiries@pearstairs.co.uk and we’ll get back to you as soon as possible.
We’re always more than happy to help!

